
How to Keep an AI CharacterConsistent Across Video Shots
Plan references, actions and settings to keep a character recognizable across shots.
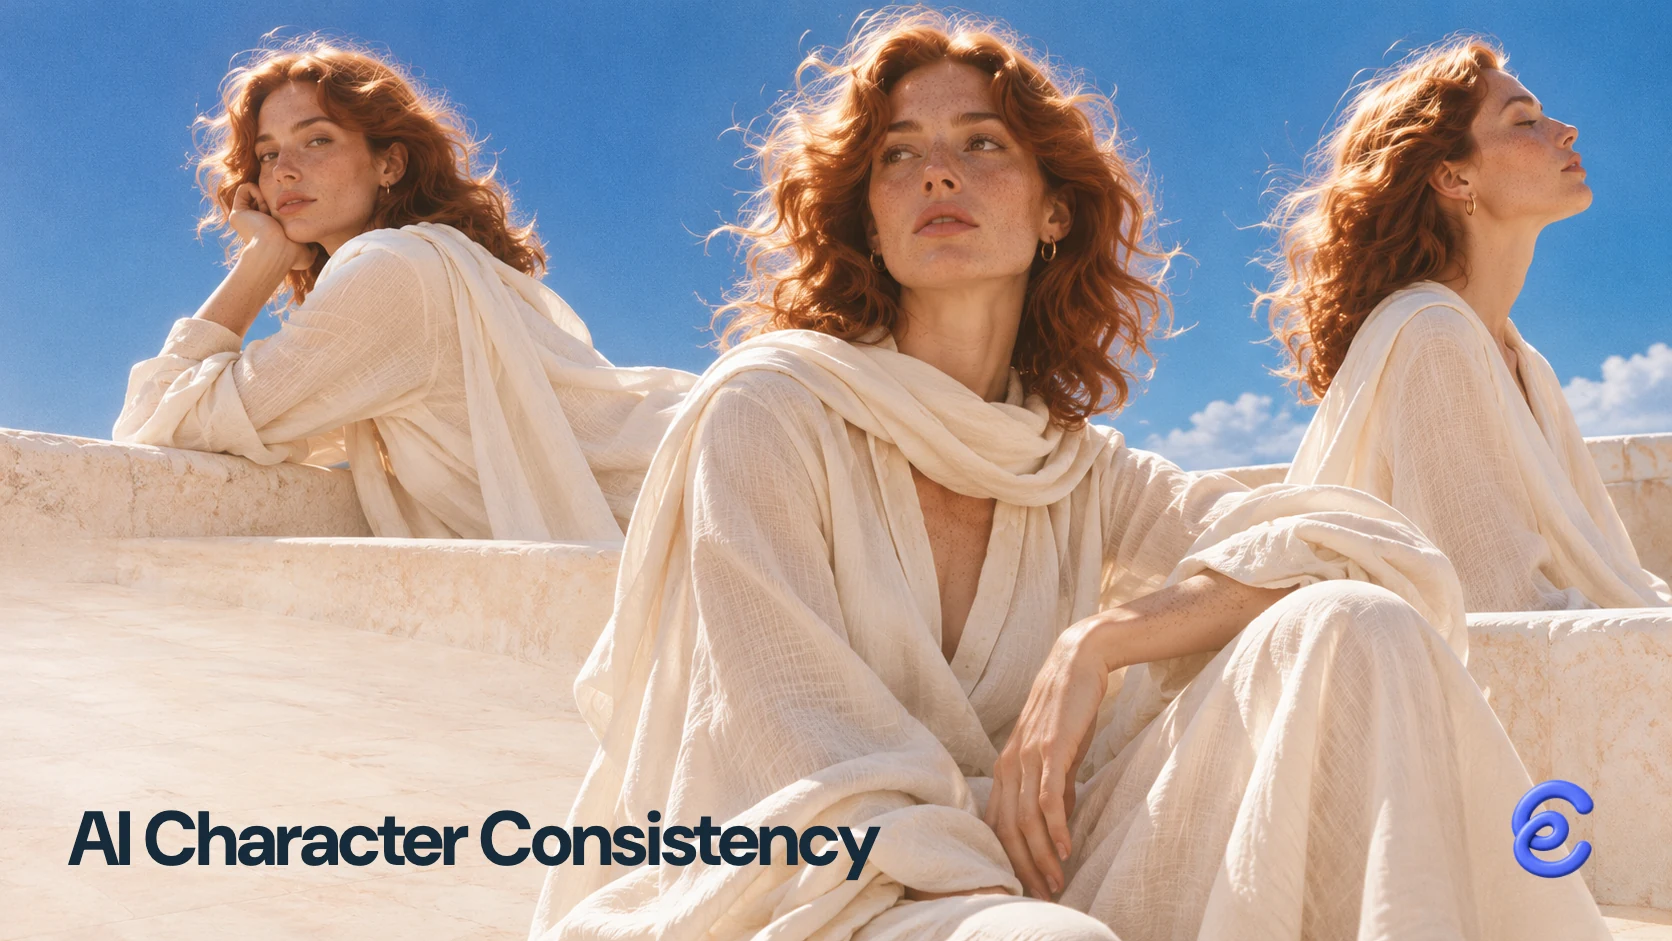
To keep an AI character consistent across shots, start with an approved character reference, plan what carries across each cut, and review the generated clips together. Before uploading, check whether the image will supply the opening frame or only the character's appearance. Reusing a portrait can help carry clothing and features forward, but it can also carry a background you do not want. Continuity means the character, place and action still make sense when the shots are cut together.
I started a two shot test in Clico with a fictional man at a train station. One ticket shot has returned so far. It gives me a first clip to review against the reference; a second completed shot is needed before I can judge continuity across the cut.
Which details make a character recognizable?
Before writing prompts, choose the features a viewer needs to recognize. These might include the shape and color of the hair, a distinctive garment, age range, accessories, and the way the character carries themself. Separate those from details that are allowed to change, such as an expression or the direction of a glance.
For a station scene, a working character description might be:
A fictional adult man with short wavy black hair and round glasses, wearing a rust red jacket over a cream shirt.
This is a description you can adapt, not a claim that a particular phrase locks an identity. Keep the description with the original reference file so you can use the same starting point for later shots. If a detail matters to the story, make it visible in the reference or specify it clearly. A necklace hidden by a collar in the reference, for example, will be difficult to check against later footage.
Use an image you have the rights to use. If it depicts a real person, check the chosen provider’s consent and portrait rules before submitting it. A reference image can be used in different ways depending on the model: as an appearance reference, an opening frame, or another supported input. Those roles are not interchangeable. Check what your selected tool actually accepts rather than assuming it will treat an image as a fixed starting frame.
The input role changes how you prepare the image. Runway's Gen-4 guide uses the uploaded image as the first frame. In that workflow, a portrait on gray is also a gray opening scene. Kling's Elements documentation describes a separate reference approach in its own product. An Elements feature and an image upload to another service are not interchangeable. For an opening frame workflow, prepare an approved image in the intended location; for an appearance reference workflow, confirm that the selected route supports that role.
Plan the connection between shots
Write down what must be true at the cut between shots. Include position, direction of movement, objects, setting, framing, and the intended sound. A plan can be small enough to fit on a few lines:
| Shot | What the viewer sees | Continuity to carry forward |
|---|---|---|
| 1 | The character turns and looks back. | Glasses, jacket and station; character facing camera at the end. |
| 2 | The character checks a ticket and looks up. | Same character and clothes; station and ticket position should make sense after shot 1. |
| 3 | A closer reaction after checking the ticket. | Ticket position, gaze, lighting and screen position should follow shot 2. |
This is an example plan, not three shots we generated. A shot list makes the important differences explicit: the person is meant to remain recognizable while the action changes. It also reveals missing information before you spend time generating. If shot 1 ends facing right and shot 2 begins looking left, decide whether that cut tells the story you intend. If a ticket appears in shot 2, decide where it was or whether the edit gives it a believable entrance.
For each prompt, retain the character description and scene facts that must remain true, then change the action and framing for the new shot. A character sheet also needs a story state. In his Creative Bloq interview about CATACOMBES, filmmaker Kévin Mendiboure describes updating reference sheets when characters are injured or otherwise change. Keep separate approved states, such as the same person before and after a costume change. Reusing an old reference without that distinction can preserve the wrong continuity.
Choose a reference for the next shot
A reference can carry identity, while a frame from the previous shot can carry the exact pose, prop position and setting at a transition. They solve related but different problems. If your chosen workflow accepts a first frame, a still from the end of an approved clip is one possible starting point for the next action. Check that the still itself contains the right face, hand and prop positions before using it. This is a proposed approach for the station sequence, not a test we have completed.
That approach is most useful when the next shot begins close to the same moment. For a wider change in camera angle, the last frame may give you the wrong composition. Prepare a new scene image with the character in the intended framing instead, and compare it with the approved reference before animating. If the tool accepts a separate character reference, check its input instructions and keep the location and action in the shot brief. Neither method guarantees a matching result.
For the station example, a practical next brief would keep the man’s glasses, jacket and station, then ask for a closer reaction after he checks the ticket. Before generating, decide which hand holds the ticket and where he looks. Afterward, compare the first usable moment with the end of the existing clip. If the action jumps, try a different opening or use an intervening shot that makes the transition understandable.
What happened in the first station shot
On November 3, I generated this fictional character in Clico using GPT Image 2.5 Flare, then attached the image to a separate request with Kling 3.0 Pro. I selected six seconds, 720p, 9:16 and silent, and asked the man to check a paper ticket at the station and look up toward the camera.

The downloaded video is 1244 × 1660 pixels, approximately 3:4, and 6.04 seconds long, with no audio stream. In the clip, the glasses, dark hair, rust jacket and cream shirt remain recognizable as he reaches down, checks a small white ticket and looks back up. The station setting stays visible. I would preview the crop before using the result in a vertical edit. A second shot using the same reference is still pending, so this example cannot yet show whether the two shots work together.
A good still frame can hide problems in motion
Watch the whole clip at normal speed, then pause where the character turns, handles an object, or changes expression. A still frame can help you compare an outfit, but it cannot show whether movement is usable or whether the setting changes halfway through a shot.
Check the character first. Does the hair remain recognizable from the intended angle? Are the distinguishing clothes, accessories, and facial features visible where the story needs them? If an item is hidden by a hand or outside the frame, mark it as not visible rather than deciding it has disappeared. Do not rely on a single attractive frame if the rest of the shot changes.
Then check the scene and action. Did the character handle the ticket as requested, and is it in a plausible position at the end? Is the camera angle usable? Does the background remain the place your story needs? For the station shot, check that the ticket remains visible through the action and that the setting still supports the intended cut.
Finally, check the file itself: duration, pixel dimensions, aspect ratio, and whether audio is present. A clip can be technically valid and still be awkward in the intended timeline. If you need 9:16, preview any crop at your final delivery size. Cropping a 3:4 image may cut off a hand, the ticket, or the character’s head; resizing it to fill the frame can also soften the image. Leave those decisions visible in the edit rather than assuming the selected option describes the downloaded file.
What happens at the cut matters too
Place the clips in order on a timeline and watch the cut without pausing. Then compare the last usable moment of the first shot with the first usable moment of the next. Check where the character is on screen, the direction of their gaze, the position of their hands and props, and whether the lighting and background suggest the same place.
For a ticket sequence, check which hand holds the ticket, where it is positioned and where the character is looking at the cut. Make a skipped action intentional, or choose another opening that makes the transition clear.
You do not need every pixel to match. A new camera angle can naturally change the background. What matters is whether the change supports the story or makes the viewer reconstruct the scene. A change in station background may read as a location change rather than two angles of the same moment.
When a shot does not match, choose what to fix
When a clip misses a requirement, distinguish a problem in the starting image from a problem in the generated action. If the selected workflow uses an image as its first frame, the location in that image is also the opening location. Prepare a scene reference that already fits, or use a route with a separate appearance reference. The next attempt can test whether that starting image gives the scene a better foundation.
Retry the shot when the action or background is essential and the current footage does not contain a usable interval. Keep the reference and required scene details, then make the missing requirement explicit in the next request. Review the new result in full.
Generate a replacement shot when the planned angle creates a continuity problem you cannot cut around. For example, if the ticket must be visible at the start of the next shot but the existing clip never shows it in the right position, plan a new shot whose opening action makes that transition clear.
Edit around the change when a usable interval exists. Review the footage in the intended sequence and see whether a shorter section preserves the action needed for the cut. An insert or deliberate transition may help, but it cannot restore an action missing from the footage.
If the character itself changes in an essential way, a crop or a quick cut may conceal the mismatch without solving it. Return to the reference and the planned shot, and decide whether a replacement is preferable. Keep the original outputs and notes so you can compare any new version against the same requirements.
Building the next shot into your sequence
Once two shots work together, add the next shot to the plan and review its cut against the footage you already have. Keep the same reference and character description where the chosen workflow supports them, but update the action and scene instructions for the new moment. Check each new output before extending the sequence.
Clico’s image to video page is a starting point for animating a reference image. For a larger narrative, the AI short drama generator page describes a related workflow. The controls and available models can change, so confirm the current input options for the specific generation you intend to make.
The goal is footage that can be edited into a coherent scene. A recognizable character is the starting point; matching action, location, framing, and the moment of the cut is what makes the next shot usable.